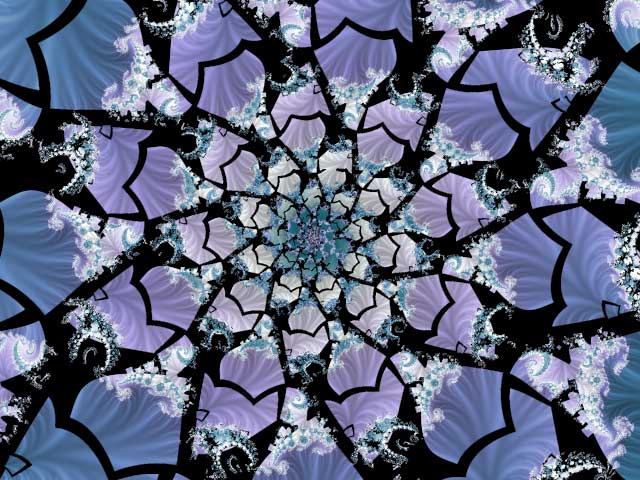
Let's add a couple of more control points to our gradient to refine our web-like structure.
 |
Right-click anywhere in the gradient editor and select Insert from the right-click menu. |
- With the insert mouse pointer, click to the right of the set of black control points in any one of the horizontal color bands.
- Change the Red, Green, and Blue settings each to 0.
- Change the Position setting to 115 and the Opacity setting to 255.
This creates a black control point with 100% opacity.
- Add another control point with these settings:
- Red, Green, and Blue set to 255
- Position set to 116
- Opacity set to 0

 While you are working with the gradient, try to show and hide the various layers once in a while to see what is going on. If you hide the Texture and Coloring layers to make only the Web layer visible, you can easily see and edit the transparent areas that the gradient creates. |
This creates a 4th set of control points this time white, with 100% transparency.
- Save this image (either as a parameter or fractal file) as Phoenix Julia 2.

 Try playing with the control points of the Web layer gradient and watch what happens in your image. Change their transparencies, move them around, give one or more of them color. And periodically, while you are playing around, try different merge modes and opacity settings on the Layers tab of the Fractal Properties tool window. You can also experiment with changing the order of layers in the list to see how this affects the overall image. |